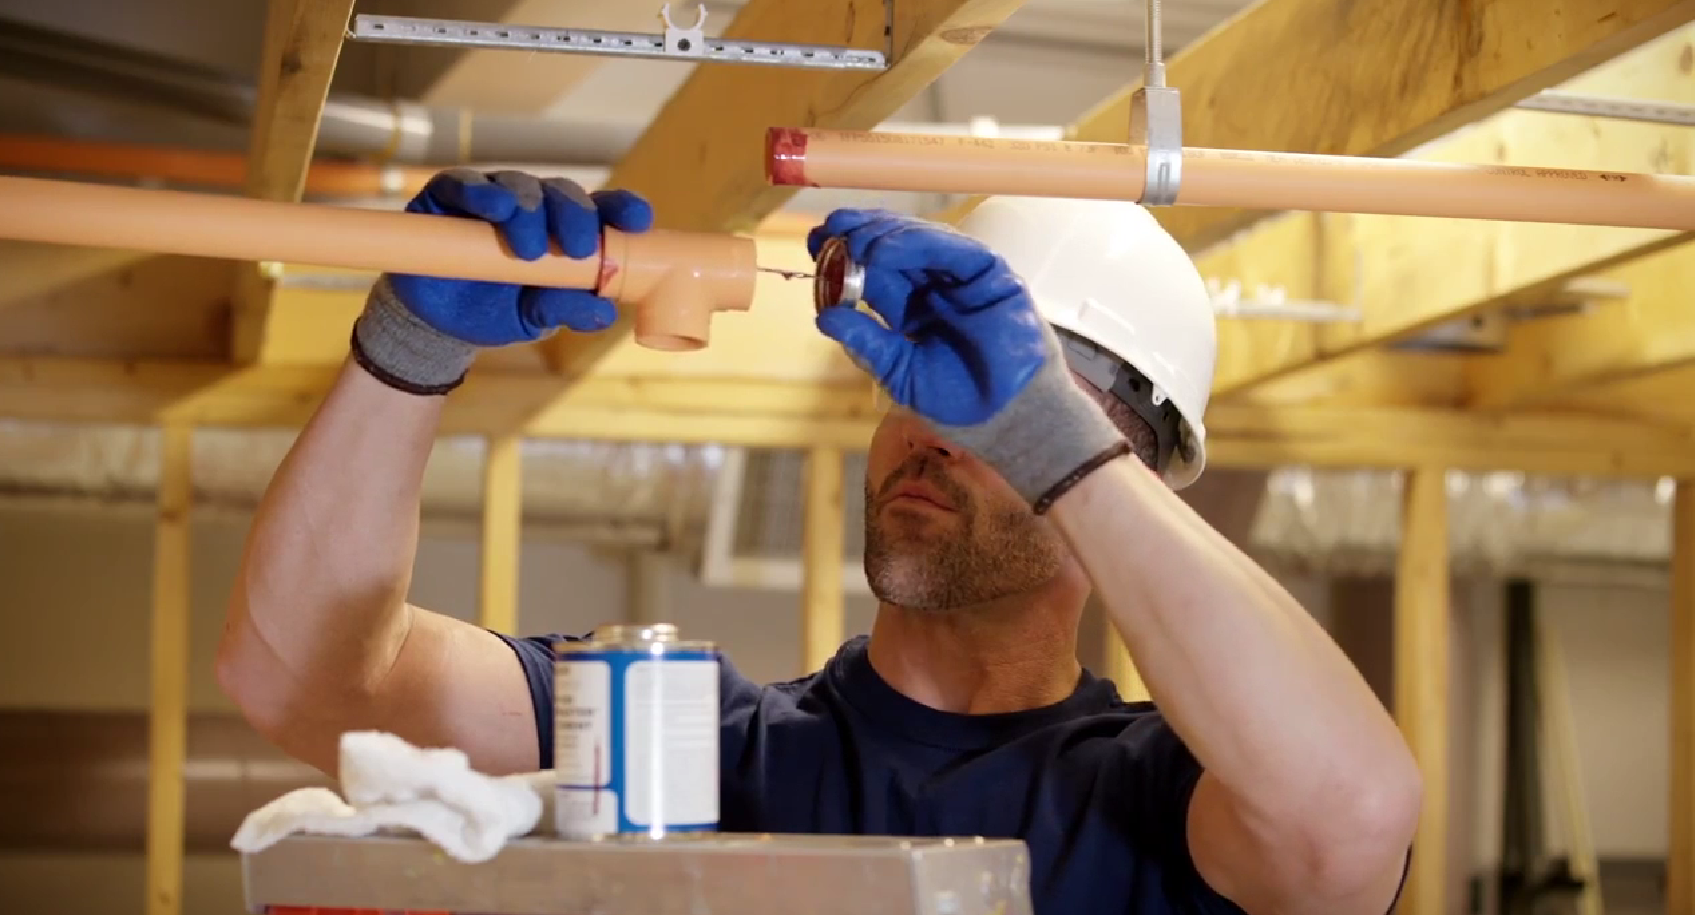
Video: How to Solvent Weld BlazeMaster® CPVC
BlazeMaster® CPVC is known for easy installation, and our quick, one-step solvent cement process is a key part of that. Compared to the heat welding used with steel pipe, solvent cement welding offers a safer working environment, because there’s no need for heavy machinery or electric tools.
Because proper solvent cement welding techniques are so important, we’ve created a new video below that provides a step-by-step overview of the process. It’s a great refresher for installers that can help ensure top-quality installations and long-lasting BlazeMaster fire protection systems.
When working with solvent cement:
- Ensure safety first. Wear eye protection and gloves. Solvent cement is a low-VOC material, but use it in a well-ventilated area.
- Remember that solvent cement is not “glue.” While the terms are often used interchangeably in the field, glue is an adhesive that can stick two surfaces together. By contrast, solvent cement welding fuses the CPVC pipe and fitting together at the molecular level to create one continuous piece of material. The joints are actually the strongest part of the system.
- Keep an eye on temperature and humidity. For instance, installers need to follow a few additional simple procedures when using solvent cement in hot weather and during cold-weather months.
With those tips in mind, here’s an overview of the process covered in the video:
Properly Cut the CPVC Pipe
You’ll need a ratchet cutter, a wheel-type plastic tubing cutter, a power saw, or a fine-tooth saw to cut the CPVC. Whichever tool you use, make sure the blade is sharp. Key steps:
- Cut the pipe to ensure a square edge, which maximizes the surface for solvent welding.
- Debur and bevel the edges using an appropriate tool, like a chamfer. Deburring ensures proper contact between the pipe and fitting. The bevel prevents cement from being pushed into the fitting when inserting the pipe.
- Wipe loose debris and moisture off the fitting socket and pipe end. Moisture can extend cure times, and debris can weaken solvent cement connections.
- Check the fit before applying solvent cement. Make sure the pipe fits snugly.
Apply Solvent Cement
After testing the pipe fit, you’re ready for solvent-welding:
- Use the right dauber size. The video includes information on how to make sure you’re using the appropriate dauber for the size of pipe you’re working with.
- Check the age of the solvent cement, ensuring it is no more than two years past the date on the can.
- Start with a heavy, even coat of solvent cement around the outside edge of the pipe. Without dipping the dauber back into the can, apply an even coat to the inside of the fitting. For pipe larger than one inch, apply a second coat.
Insert CPVC Pipe Into the Fitting
Once the solvent cement is applied properly, you’re ready to install the pipe.
- Insert the pipe immediately into the fitting to ensure the curing process is effective. If the solvent cement on the pipe or fitting dries before you fit them together, do not re-apply, because the dried cement will interfere with the fit. Instead, use a new piece of pipe or fitting.
- Turn the pipe one-quarter turn as it is inserted into the fitting, which ensures even distribution of the solvent cement as the joint comes together. Make sure the pipe hits the back of the fitting, and hold for about 30 seconds.
- Wipe away excess solvent cement so you see a continuous bead of solvent cement at the edge of the fitting.
- Verify cure times by checking the manufacturer’s guide. Once assembly is complete, the newly fused CPVC molecules harden as the solvent evaporates. When all the solvent is gone, the joint is fully cured. But remember – cure times will vary based on temperature and humidity.
The video covers all this information in an easy-to-understand format. You can also learn more by downloading The Complete Guide to Solvent Cement & CPVC Fire Protection Systems.
These tools reflect BlazeMaster Fire Protection Systems’ commitment to help our partners succeed by ensuring quality installations – every time. As always, let us know if you have any questions.


