
Whether you have been installing BlazeMaster® Fire Protection Systems for 10 years or 10 days, it’s always a good idea to go back to the basics once in a while. Just as professional athletes practice the same play or motion over and over, they sit down for a “chalk talk” on occasion to discuss they “whys” behind the “whats.”
Consider this a BlazeMaster CPVC chalk talk.
It isn’t meant to replace the manufacturer’s installation instructions. It’s meant to be a helpful list of what to do – and what not to do – as you install BlazeMaster CPVC.
A Winning Playbook
- Handle with care.
- BlazeMaster pipe and fittings are meant to stand up to the rigors of fire protection for years. BlazeMaster CPVC is a tough, durable material. That said, prior to installation, it’s best to handle BlazeMaster pipe and fittings carefully to maintain product integrity. That means keeping the products in their original packaging until needed. Indoor storage out of sunlight is preferred. Avoid exposure to direct sunlight for long periods of time. If it must be stored outdoors, cover BlazeMaster CPVC with an opaque tarp. Do not use pipe that has faded due to prolonged exposure to sunlight.
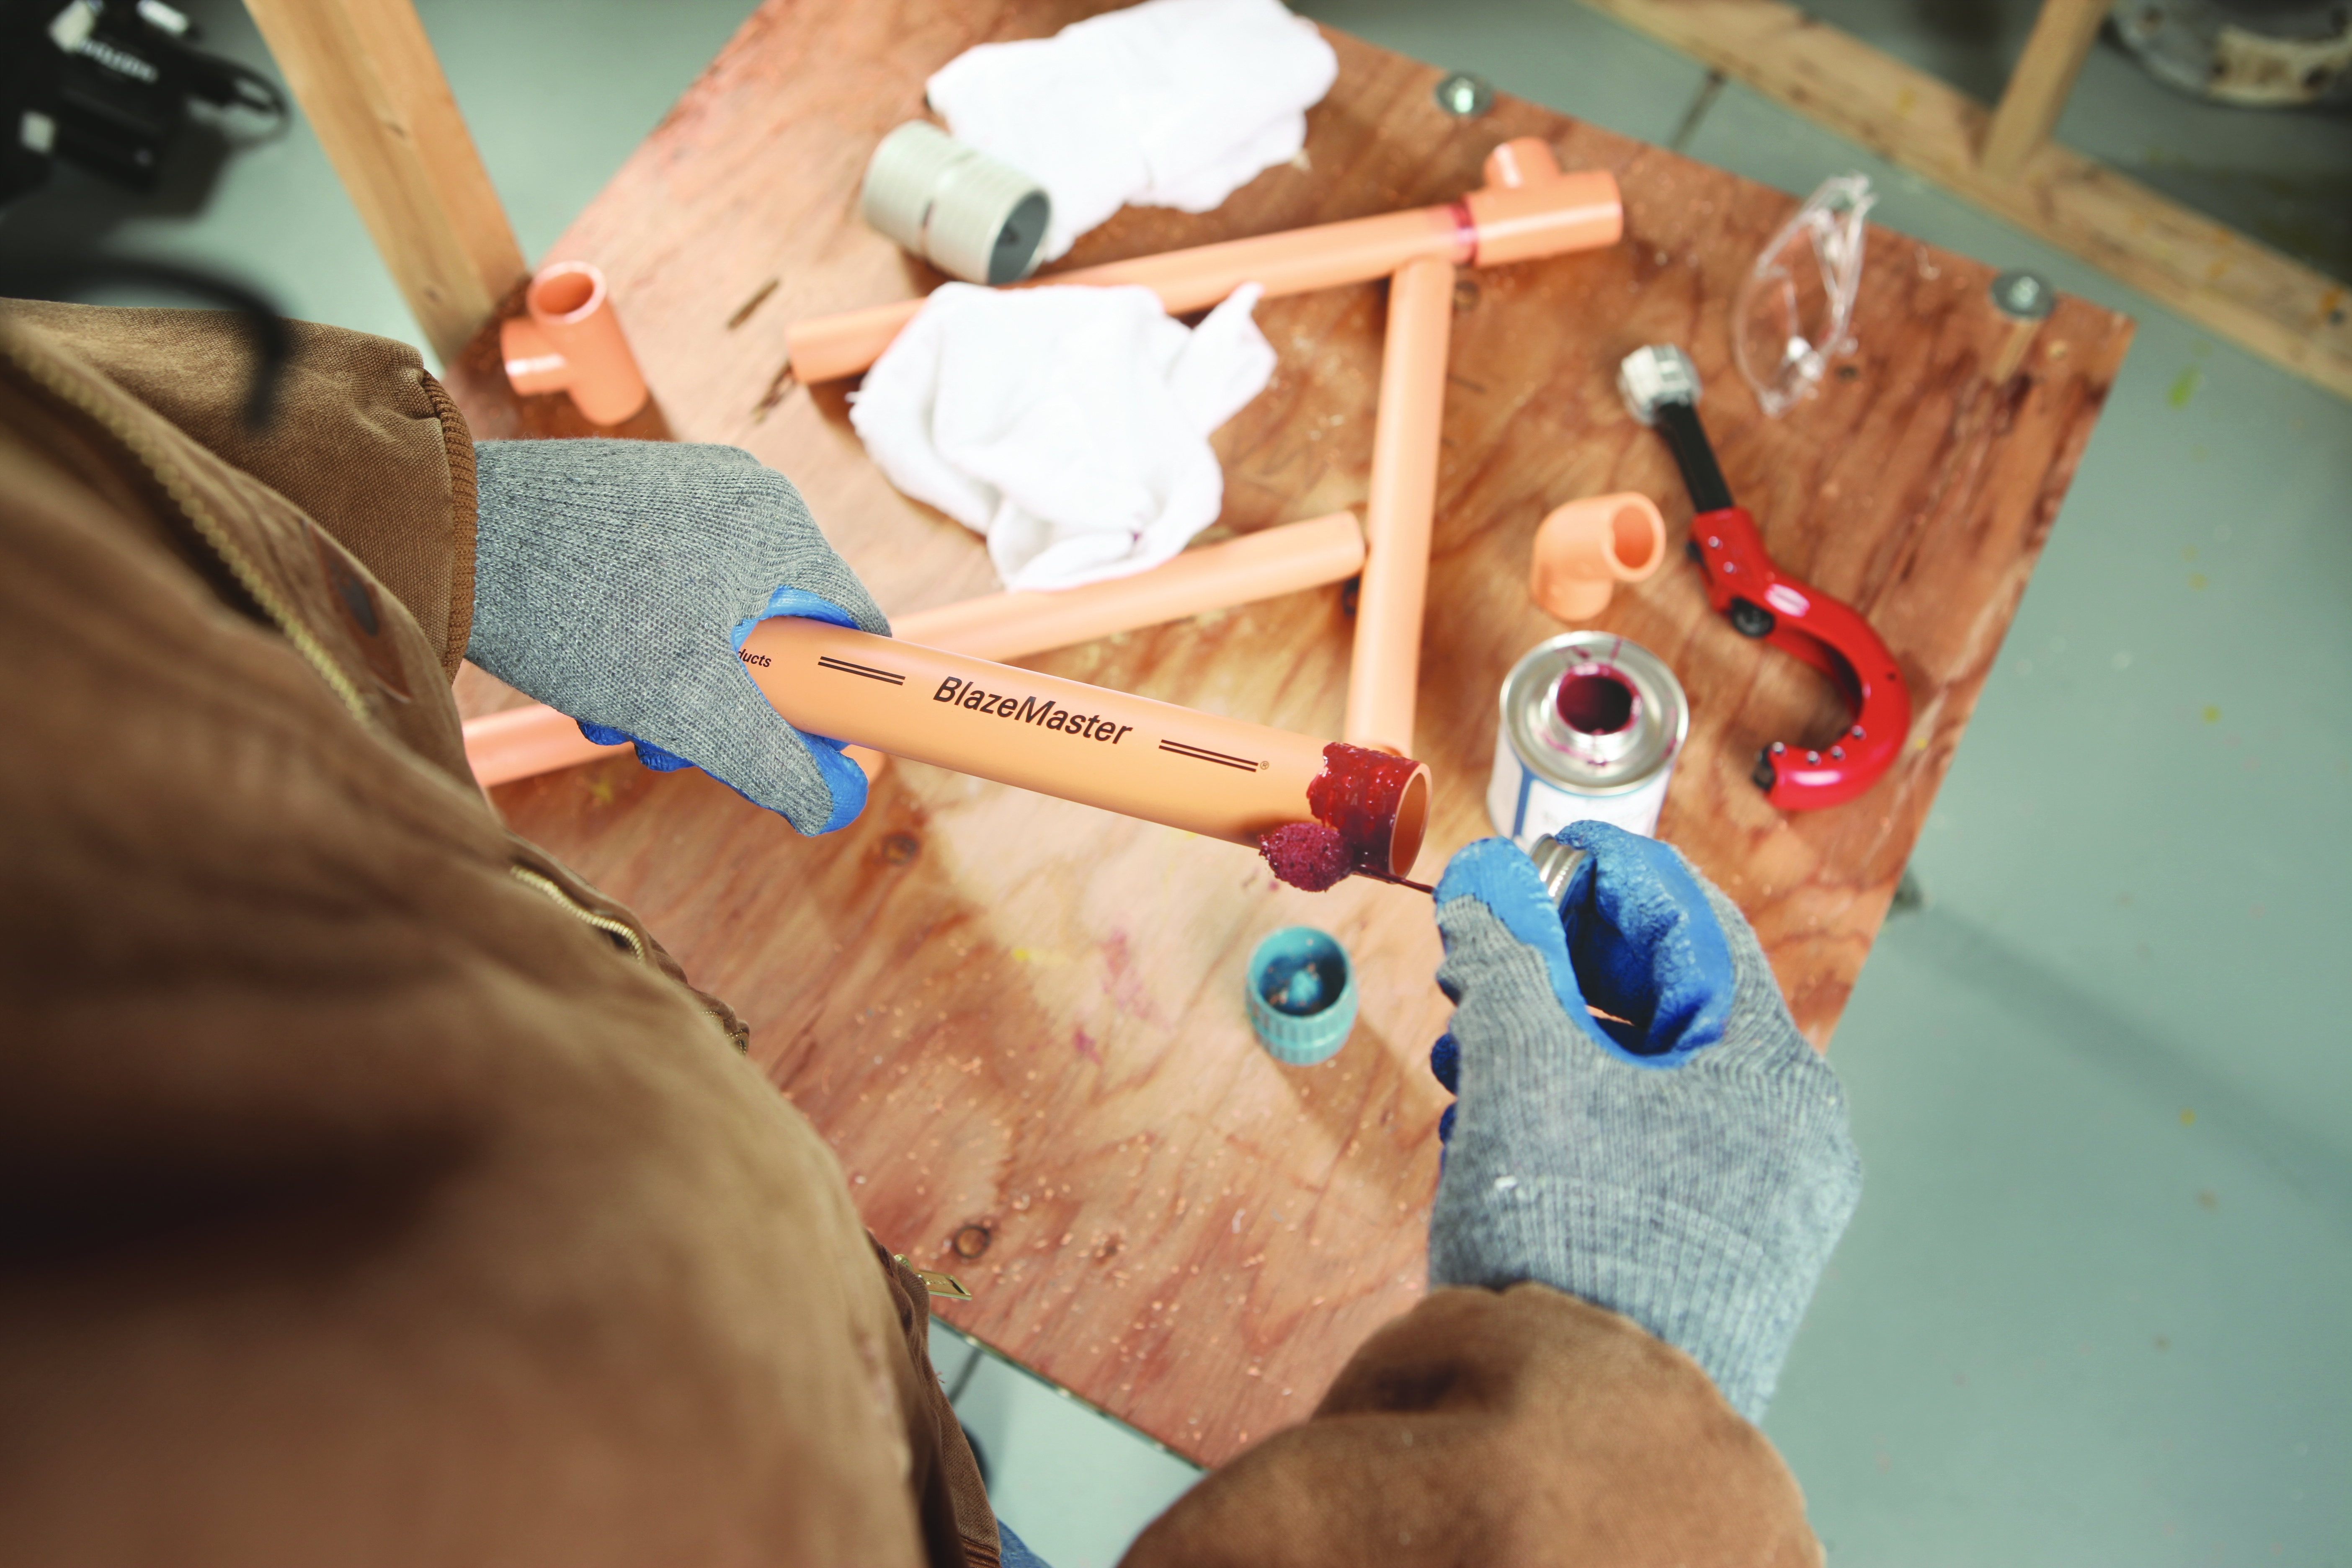
- Cut and join like a pro.
- Use a sharp-bladed ratchet cutter (only at temperatures at or above 50 F/10 C), wheel-type plastic tubing cutter, power saw or fine tooth saw to cut new BlazeMaster pipe squarely. Note: NEVER use a ratchet cutter to cut BlazeMaster pipe in existing systems. Pipe that has been in service may compress – using a ratchet cutter to repair or replace this pipe may cause undetectable cracks.
- Deburr inside and bevel outside of the pipe.
- Test fit the pipe.
- Apply solvent cement to the outside of the pipe first.
- Without dipping the dauber back into the solvent cement can, apply cement to the inside of the fitting. On pipe sizes 1-1/4” (32mm) and larger, dip the dauber back into the can and apply to pipe once more.
- Insert the pipe end into the socket while rotating the pipe ¼ of a turn. Hold for 30 seconds.
- Solving solvent cement.
- Ensure that you have the proper personal protective equipment (PPE) such as safety goggles and gloves ready to use before starting the joining process. Always keep solvent cement away from eyes, skin and clothing.
- Make sure the work area is properly ventilated, or have a NIOSH-approved respirator available if necessary.
- Never smoke, eat or drink while using solvent cement.
- Use the proper solvent cement. Be familiar with and follow application instructions.
- Store solvent cement between 40 F and 110 F/4 and 43 C or as specified on the label. Never store it near heat, sparks, open flame or other sources of ignition. When not using, keep containers closed and covered.
- Old solvent cement should be discarded. Always check the manufacturing date on the can – shelf life is typically two years after the date on the bottom of the can. If cement has become gelled or discolored, discard it; it should NEVER be used.
- The cure for everything.
- Follow the pipe manufacturer’s cure schedules at all times for pressure, pipe size and temperature. This assumes that the pipe and fittings are dry. If water is present, cure times will increase.
- Note: Cure times to modify or repair an existing system are longer. Look for them here.
- The finishing touch.
- Never use Teflon tape and thread sealant simultaneously.
- Install a sprinkler head only after a sprinkler head adapter has been solvent welded.
- Before installing the sprinkler head, ensure that the waterway is not obstructed.
- Allow for movement during installation due to expansion or contraction – particularly if you’re installing in cold weather.
An Online Reminder
The information provided in this article is available to you 24/7 online. Click here to access our Installation Best Practices for BlazeMaster CPVC Guide.


BlazeMaster CPVC pipe and fittings are widely available and we always recommend that you read and follow our partner manufacturers' installation instructions. Do you have a question about BlazeMaster CPVC fire protection systems installations beyond what we’ve discussed here? We’re here to help with technical advice and to help you do it right the first time. Don’t hesitate to contact us.